Have you seen those oddly satisfying videos online featuring people squishing and crunching what looks like… snow? But somehow makes the most delightful crackling sounds? Those, my friend, are cornstarch chunks, and they’re not just for internet entertainment anymore!
Making your own cornstarch sensory toys is a fun, safe, and surprisingly easy project for all ages. This homemade alternative to store-bought stress balls or fidget toys provides a unique tactile experience that’s both calming and stimulating. Plus, it’s a fantastic budget-friendly craft activity for kids (with adult supervision, of course).
But before we dive into the super-simple recipe, let’s address the elephant in the room: Is cornstarch safe to play with?
Absolutely! Cornstarch is a common kitchen ingredient, generally considered non-toxic. However, it’s important to remember two things:
Cornstarch is not food. While safe for external play, avoid ingesting cornstarch chunks.
Choking hazard for young children. Cornstarch chunks, especially if not dried completely, can pose a choking hazard for very young children. Adult supervision is crucial during playtime.
Now that we’ve covered safety, let’s get crafting!
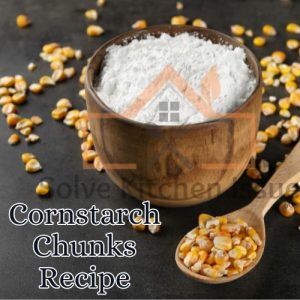
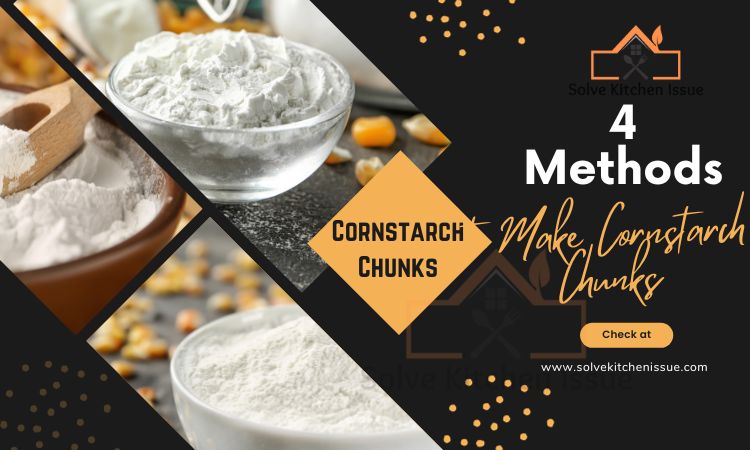
Cornstarch Chunks Recipe
Ingredients
- 1 cup cornstarch
- ½ cup water
- Food coloring (optional, for adding color to the chunks)
- Additional flavorings or items like spices, chocolate, or caramel (optional, for customizing the taste of the chunks)
Notes
Cooking Process
To make cornstarch chunks you should flow these easy 7 steps;- Preheat your oven to 200°F (93°C).
- In a bowl, mix cornstarch and water until it forms a smooth mixture.
- If you want to add color to your chunks, add a few drops of food coloring to the mixture and mix well.
- Pour the mixture onto a baking sheet lined with parchment paper or a silicone mat.
- Use a spatula or knife to spread the mixture evenly across the sheet, making sure it’s no more than 1/4 inch thick.
- Place the baking sheet in the preheated oven and bake for 2-3 hours or until the mixture has completely dried and hardened. You can check if it’s ready by gently pressing it on the surface. If it’s dry and hard, it’s ready.
- Once it’s cooled, use a knife or your hands to break the sheet into small chunks or shapes.
Step-by-Step Guide to Cornstarch Chunk Bliss:
-
Mix it Up! In your mixing bowl, combine the cornstarch and water. Stir vigorously until a thick paste forms. Imagine mashed potatoes, but lighter and fluffier.
-
Color Party (Optional): If you want to add some vibrancy to your cornstarch chunks, now’s the time! A few drops of food coloring will do the trick. Mix well to ensure even distribution of color.
-
Get Your Hands Dirty (But Not Too Dirty): This is where the fun begins! Lightly knead the cornstarch mixture with your hands. It should be moldable but not sticky. If it feels too wet, add a little more cornstarch, a tablespoon at a time.
Tip: Wet hands can make the cornstarch mixture extra sticky. If this happens, dust your hands with a bit of cornstarch before continuing.
- Shaping Up: Now comes the creative part! Mold the cornstarch mixture into whatever shapes you desire. Think balls, cubes, hearts, stars – the possibilities are endless.
Tip: For small, uniform chunks, roll the mixture into long ropes and then cut them into bite-sized pieces.
- Drying Time: Carefully place your cornstarch creations on a baking sheet lined with parchment paper. Leave them in a cool, dry place for several hours, or even overnight, to allow them to dry completely.
How to Tell When Your Cornstarch Chunks Are Ready:
- They should feel firm to the touch and no longer sticky.
- You shouldn’t see any wet patches on the surface.
- When squeezed, they should crumble slightly but hold their shape.
Playing with Your Cornstarch Masterpieces:
Once your cornstarch chunks are completely dry, it’s playtime! Here are some ideas to get you started:
- Squeeze and Squish: The ultimate stress reliever! The satisfying texture of cornstarch chunks provides a unique sensory experience that can help reduce anxiety and promote relaxation.
- Fidget Fun: Cornstarch chunks are a great alternative to traditional fidget toys. They offer a different kind of tactile stimulation that can help improve focus and concentration.
- Science Experiments: Cornstarch is a fascinating material for science exploration. Use your cornstarch chunks to demonstrate properties like non-Newtonian fluids (think quicksand!).
Storing Your Cornstarch Creations:
When you’re not using your cornstarch chunks, store them in an airtight container to prevent them from drying out or absorbing moisture from the air. This will help them maintain their delightful texture and last longer.
Safety Reminders:
- Adult supervision is crucial for young children playing with cornstarch chunks due to the choking hazard.
- Cornstarch is not edible. Avoid putting cornstarch chunks in your mouth or swallowing them.
- If the cornstarch chunks become wet or sticky again, discard them and make a new batch.
Supercharge Your Cornstarch Chunks: Scents, Sounds, and More!
We’ve covered the basics of creating amazing DIY cornstarch chunks, but the fun doesn’t have to stop there! Here are some exciting ways to customize your cornstarch creations for an even more immersive sensory experience:
Aromatherapy Boost:
- Essential Oils: A few drops of your favorite essential oil can add a calming or invigorating scent to your cornstarch chunks. Popular choices include lavender (relaxing), peppermint (energizing), or citrus (uplifting).
Tip: Only use essential oils diluted in a carrier oil like almond oil or coconut oil. A few drops are enough!
- Potpourri Power: For a more subtle fragrance, try adding a small amount of dried herbs or potpourri mix to your cornstarch mixture before shaping. Dried lavender, rose petals, or chamomile flowers are excellent choices.
The Sound of Crunch:
- Crackle and Pop: Want your cornstarch chunks to make extra satisfying crackling sounds? Mix in a tablespoon of tapioca pearls or mini rice puffs to the cornstarch mixture before shaping. These tiny additions will create delightful popping noises as you squeeze your creations.
Sensory Sparkle:
- Glow in the Dark: For an extra magical touch, incorporate a small amount of glow-in-the-dark powder into your cornstarch mixture. Charge your creations under a bright light, and then enjoy the mesmerizing glow as you play in a darkened room.
Beyond the Squeeze:
- Cornstarch Slime: Feeling a little more ambitious? With a few extra ingredients, you can transform your basic cornstarch mixture into fluffy, moldable slime! Check out online tutorials for specific recipes, but generally, you’ll need to add a bit of glue and borax solution.
Safety Considerations for Variations:
Remember, when adding new elements to your cornstarch chunks, prioritize safety:
- Essential oils: Only use essential oils diluted in a carrier oil, and avoid using them with young children or those with respiratory sensitivities.
- Small objects: Choking hazard! Ensure any added ingredients like tapioca pearls or rice puffs are large enough to prevent accidental swallowing, especially if playing with young children.
- Glow powder: While generally considered non-toxic, some glow powders may contain trace amounts of chemicals. Adult supervision is recommended during play.
The Final Squeeze:
Making your own cornstarch chunks is a fun and rewarding experience for all ages. These versatile sensory toys provide a unique way to relax, fidget, or explore science concepts. With a little creativity, you can customize your cornstarch creations to suit your individual preferences and create a truly delightful sensory experience. So, get mixing, get shaping, and get ready to enjoy the satisfying squish and satisfying crunch of your very own homemade cornstarch chunks!

Hey Helen Knight,
Your article on making cornstarch chunks struck a chord with me. It brought back cherished memories and ignited my passion for cooking. Your engaging instructions and personal anecdotes captured my attention, and I can’t wait to try out your recipe. Thank you for reminding us of the joy cooking can bring. Keep up the fantastic work!
Warm regards
Thank You Trudy D.!
Happy to read your comment 🙂
Hey Helen Knight,
Just read your article on making cornstarch chunks, and I loved it! Your step-by-step guide was a real game-changer for my kitchen experiments. I never knew cornstarch could be so versatile and easy to use in this form. I tried it out, and the results were fantastic. Thanks for sharing such a creative recipe! Can’t wait to see what else you have in store.
Keep up the great work!
Hey Helen!
Loved your article on making cornstarch chunks! Your simple instructions and helpful tips made it easy for a kitchen newbie like me to create some silky-smooth goodness. Can’t wait to try these in different recipes! Thanks, Helen and keep those articles coming!
Loving your comment Dennery!
Thanks for sharing such a fantastic recipe!